Have you tried setting up solar lights in your garden? It’s not hard to do. Solar lamps are a low-cost, low maintenance, and environmentally friendly alternative to traditional lighting. That’s why they are becoming increasingly popular. One of the biggest advantages of solar lamps is. You don’t have to stay at home, your outdoor space can be well lit and beautiful. But as with all new technologies, many homeowners have questions about solar light safety and how to setup solar lights in their garden.

Section: What are the main types of garden solar lights?
There are a number of different types of solar lights available on the market today. They range from the classic lanterns to more modern-looking fixtures that can be used for both indoor and outdoor decorating. The most popular type is the solar-powered lantern.Which is great for illuminating walkways and pathways at night. These lights typically have LED bulbs and come in a variety of shapes and sizes. So you can find one that fits with your landscape design.
There are three main types of garden solar lights:
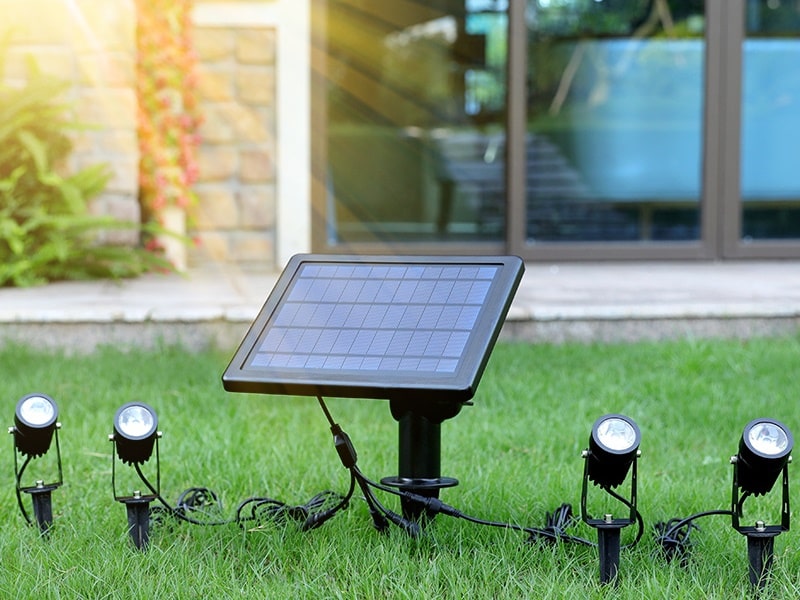
– Outdoor solar spotlights: These are the most common type of garden solar light. They’re usually small. But can be larger than other types, and are designed to illuminate a small area or point in your garden.
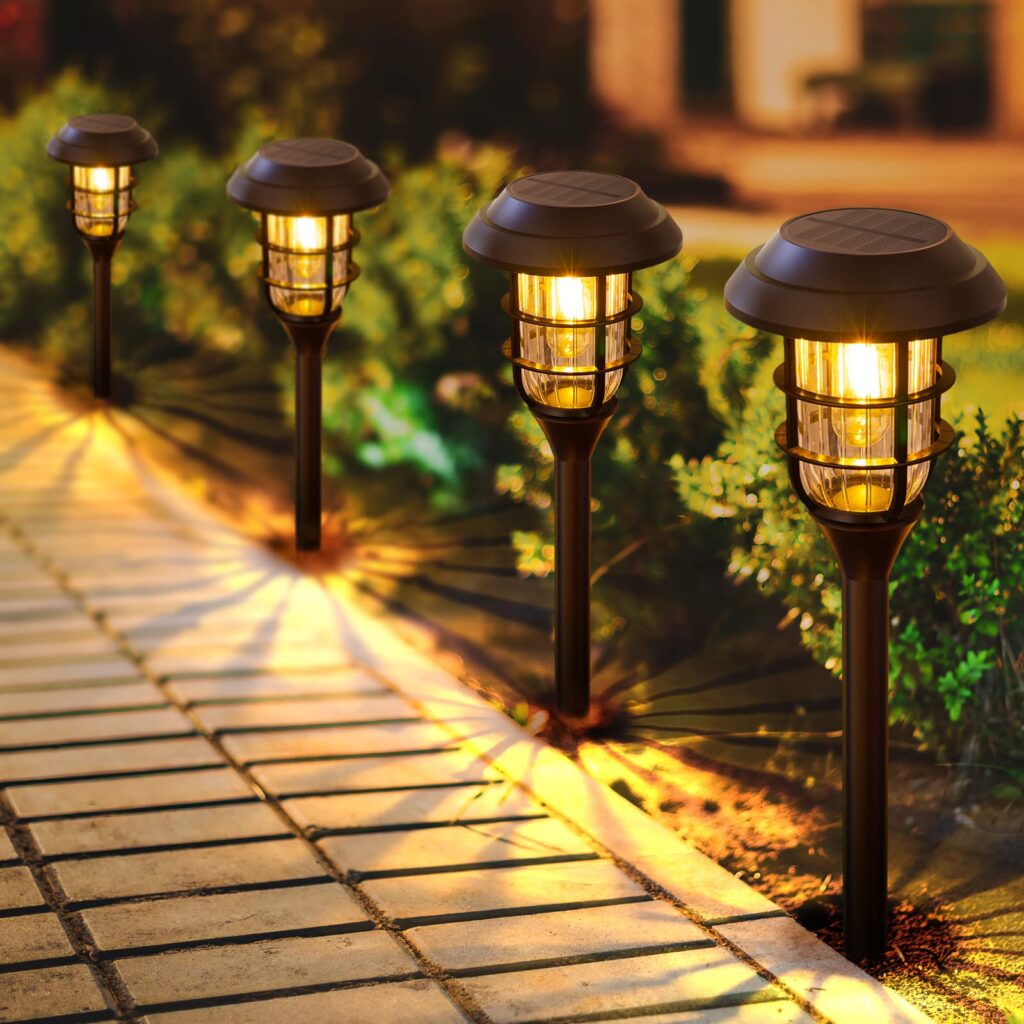
– Solar path lights: These lights typically come in pairs and provide an even more decorative look than outdoor solar spotlights. They’re also designed to illuminate a larger area and are often used in walkways or pathways.
– Solar garden lights: These lights are designed to illuminate your entire garden. So they’re usually the largest type of solar light. They have a larger range than other types and can be placed at various distances from each other. They’re also designed to be placed in the ground and come with stakes. Making them ideal for illuminating walkways or pathways.
– Solar tree lights: These lights are designed to illuminate your garden’s trees and shrubs. So they provide a decorative look by highlighting the foliage of your plants. They’re usually placed around the base of plants and trees, so they look like a part of the garden rather than an added feature.
– Solar walkway lights: These lights are designed to illuminate your entire garden’s pathways. So they provide more light than other types of solar lights. They can be placed along your driveway or sidewalk to make sure it’s safe for guests. And family members at night.
Takeaway: Solar lights are easy to make part of your garden decor.


Section: Ensure at least six hours of sufficient sunlight every day. To ensure that it is bright enough to illuminate your garden.
The more light the solar panel gets, the brighter your lights will be. The best place to install solar lights is in an area that receives at least six hours of direct sunlight per day. If you’re growing plants in containers, place them where there’s plenty of sun exposure.
The length of time the solar panel is exposed to direct sunlight will determine how long your lights stay on after dark. The more hours of full sun, the longer it will stay lit. You can also check the charging level indicator of the solar lamp. To understand how much electricity solar lights store – this will let you know when to replace or charge them.
You also can tell if your light is getting enough sun by checking to see if the solar panel is warm to the touch. If it isn’t, then your light isn’t getting enough power from the sun and will be dimmer than expected. Make sure that when you’re placing your lights in full sunlight, they’re not being shaded by other objects or trees.
If you live in a cold or cloudy area, it’s important to ensure that your solar light is getting enough sun during the day. You can test this by placing your hand over the solar panel on top of the light and feeling for warmth. If your hand feels warm when you remove it, then it’s getting plenty of sunlight.
Section: Find the perfect location for your solar lights.
The best place to put solar lights is in direct sunlight. You can place them on your deck or patio, but make sure that they have a clear view of the sky so that they get enough sunlight during the day.
Solar lights should be placed at least four feet away from trees or bushes. This will ensure that the light can get enough sunlight during the day, which is crucial for charging it up.
Avoid placing the solar lights in shaded areas, such as under trees or near buildings. This will prevent them from charging properly.
Takeaway: If you are placing them outside, make sure that they are out of the reach of children and pets. Remember that solar lights don’t last forever, so make sure to replace them every few years.

Section: Install your solar lights in the ground using stakes, or place them along a pathway to light the way.
These are just a few of the many ways that you can use solar lights in your yard. They are a great way to save money on electricity and will help protect the environment by reducing your carbon footprint.
Solar lights are a great way to light your yard without having to worry about electricity. They come in a variety of styles and sizes so you can find one that is perfect for your needs. Solar lights are especially useful in places where there is no access to electricity or outlets. Such as camping trips or if you just want some extra lighting in the backyard during summer nights.
When you are installing your solar lights, make sure that there is enough space between them. It’s important to leave at least 12 inches of space between each light. If they are too close together, then they will not be able to charge properly.
Section: If you place a solar lamp on the desktop. Please use soft cloth such as felt at the bottom of the base to protect the fragile surface.
If you are unable to use the power socket and need to place the light outdoors for safety purposes. Please ensure that it is placed in an area that can protect it from extreme weather conditions. If you do not have access to an electrical outlet and need to place lights outside for security purposes. Be sure to place them in an area where they will be protected from extreme weather conditions.
Takeaway: If your solar lights come with hooks or mountable screws. Make sure to install these before adding batteries and turning them on.

Section: Seal it up and test it out.
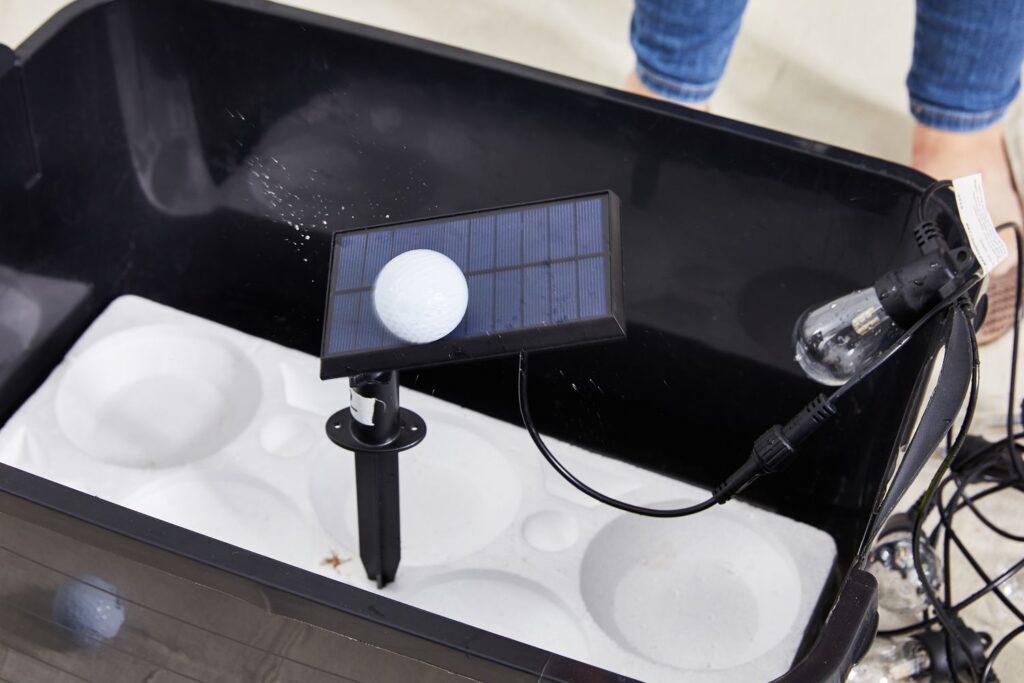
Once you have installed your solar lights and are happy with their placement, seal up the area around them. This will help prevent moisture from getting in and causing issues with your battery or circuitry. Next, test out the lights to make sure they work properly. This should include opening them at different times during the day and night. This way you can see how long they can last in different situations.
After you’ve installed your solar lights, make sure to seal them up with silicone. This will help prevent moisture from getting inside the light and causing damage. It also helps keep insects out. After sealing your lights, it’s time to test them out! Turn each light on individually, then check whether they are working properly. If any of them don’t work after testing, try replacing the batteries or resetting the circuit breaker (if there is one).
If your lights are still not working properly after testing, you may want to bring them back into your local hardware store. They can test the lights and make sure that they aren’t defective. If they aren’t, then you can exchange them for a new set.
Sometimes, it’s a good idea to test the lights at night. This will allow you to understand their performance under different conditions and the light they emit.
Section: To ensure longevity, you need to properly maintain the solar lights.
This can help you to extend their lifespan and keep them working for years. Here are some tips for how to maintain your solar lights:
-Wipe off any dirt or dust from the surface of the solar panel with a damp cloth or brush. This will help to ensure that it’s getting enough sunlight to be able to charge properly.
-Check the screws that hold your light fixtures together. If they need tightening, do so using an adjustable wrench or screwdriver before you reinstall them in place.
-Check the batteries periodically to ensure they are working properly. If they are low on charge, replace them with new ones as needed. -If you notice any corrosion on the metal parts of your solar light fixtures, clean it off using sandpaper or steel wool and repaint where necessary.
-Check the wiring and replace it if necessary. If you find any frayed wires, cut them off with wire cutters and strip away about a half inch of insulation from each end before crimping on new connectors.
-Replace any burned-out light bulbs.